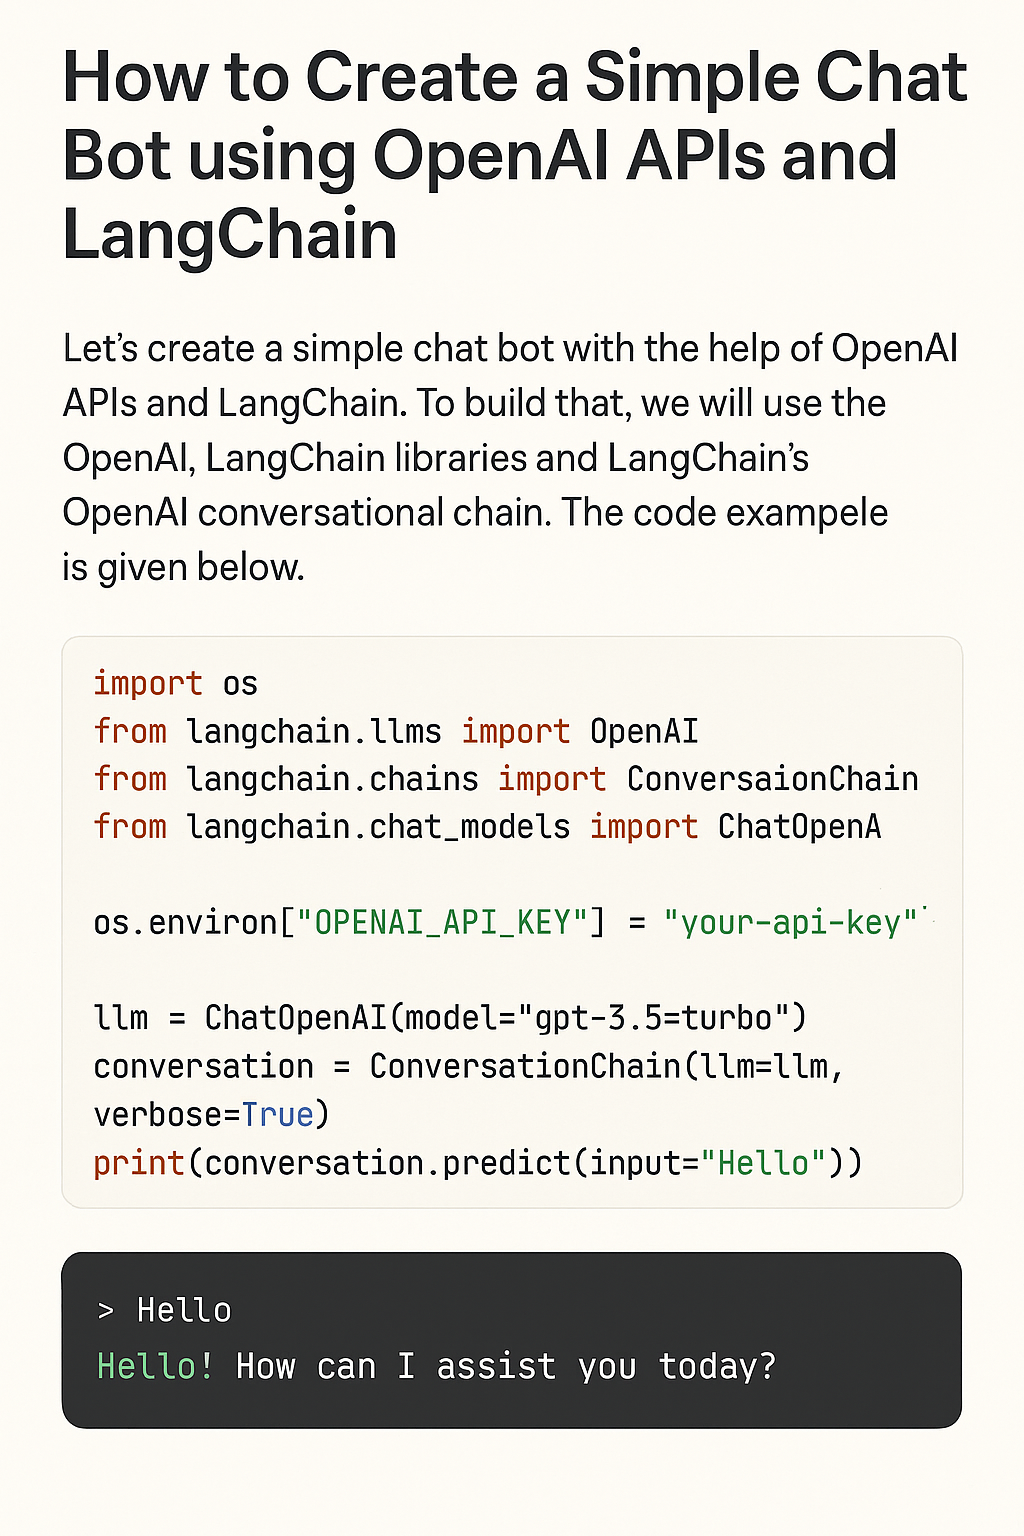
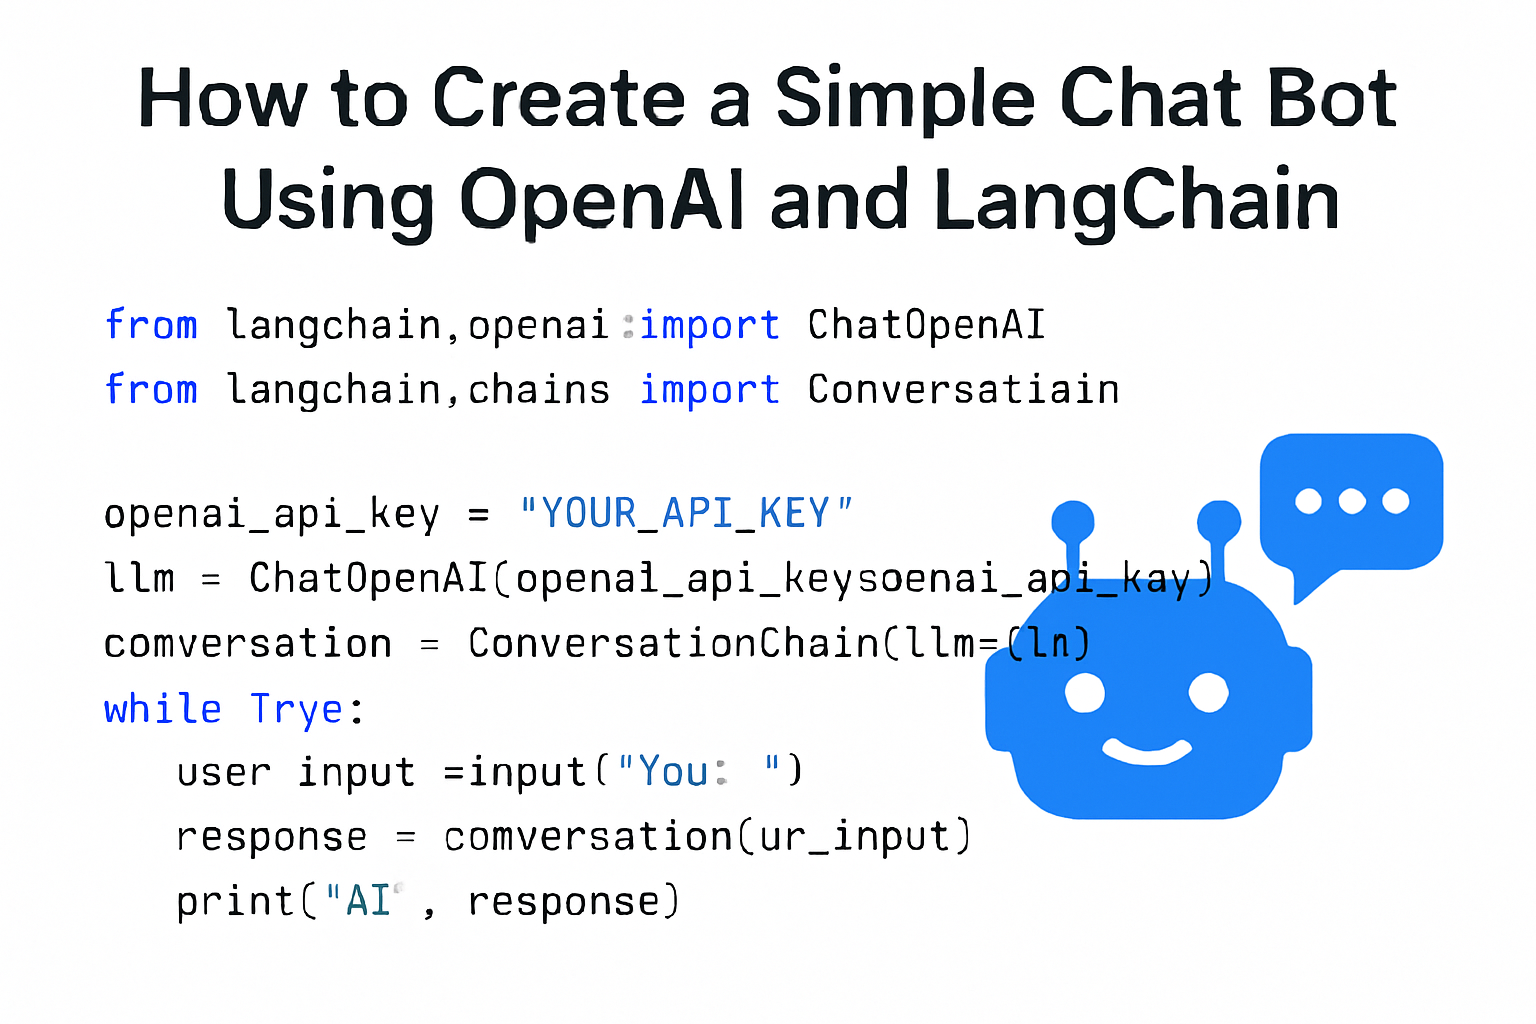
Building an AI-powered chatbot has never been easier, thanks to OpenAI’s GPT models and LangChain. In this tutorial, we’ll walk through how to set up a simple chatbot using Python, OpenAI’s API, and the LangChain library.

What You’ll Need
- Python 3.8 or later
- OpenAI API key (Get it here)
- Install required libraries:
pip install openai langchainStep 1: Set Up OpenAI and LangChain
First, configure the OpenAI API key in your environment:
export OPENAI_API_KEY="your_openai_api_key"Or set it directly in Python (not recommended for production):
import os
os.environ["OPENAI_API_KEY"] = "your_openai_api_key"
Step 2: Create a Simple Chatbot
Here’s the Python code for a basic chatbot:
from langchain.chat_models import ChatOpenAI
from langchain.chains import ConversationChain
from langchain.memory import ConversationBufferMemory

# Initialize the OpenAI model
chat = ChatOpenAI(model_name="gpt-4o", temperature=0.7)

# Add memory to hold the conversation context
memory = ConversationBufferMemory()

# Create the conversation chain
conversation = ConversationChain(
    llm=chat,
    memory=memory,
    verbose=True
)

# Simple chat loop
print("🤖 Chatbot is ready! Type 'exit' to quit.")
while True:
    user_input = input("You: ")
    if user_input.lower() == "exit":
        print("Chatbot: Goodbye! 👋")
        break
    response = conversation.predict(input=user_input)
    print("Chatbot:", response)
Step 3: Run the Chatbot
Save the code to a file, e.g., chatbot.py, and run:
python chatbot.pyNow, you can chat with your AI assistant directly from the terminal!
What’s Next?
This is just the beginning! You can extend the chatbot by:
✅ Connecting it to a database or API
✅ Adding tools like web search or calculators using LangChain’s agents
✅ Deploying it as a web app using FastAPI or Streamlit
